Hey Bro Whats Up Doing Our Main Server Again
How to Create a Simple Bot Using Discord.js
In this tutorial, you'll learn how to fix, create, and deploy a Discord bot using Discord.js.
Ever wanted to create your own Discord bot? Well, I have. I've e'er worried about privacy on my Discord server about bots tracking my messages. To cease my worrying, I decided to learn how to make my own Discord bots, so I know for certain my server is 100% secure. In this tutorial, I will be showing you how yous fix, create, and deploy a simple Discord bot using JavaScript. Since this is the first part, I'll only cover how to set up the bot.
Prerequisites
- Node.js and NPM
- A code editor (obviously) — I'll be using Visual Studio Code from Microsoft
- A Discord and Heroku business relationship
Step 1: Registering the Bot
The first step of creating a Discord bot is to register the bot with Discord. To do that, become hither.
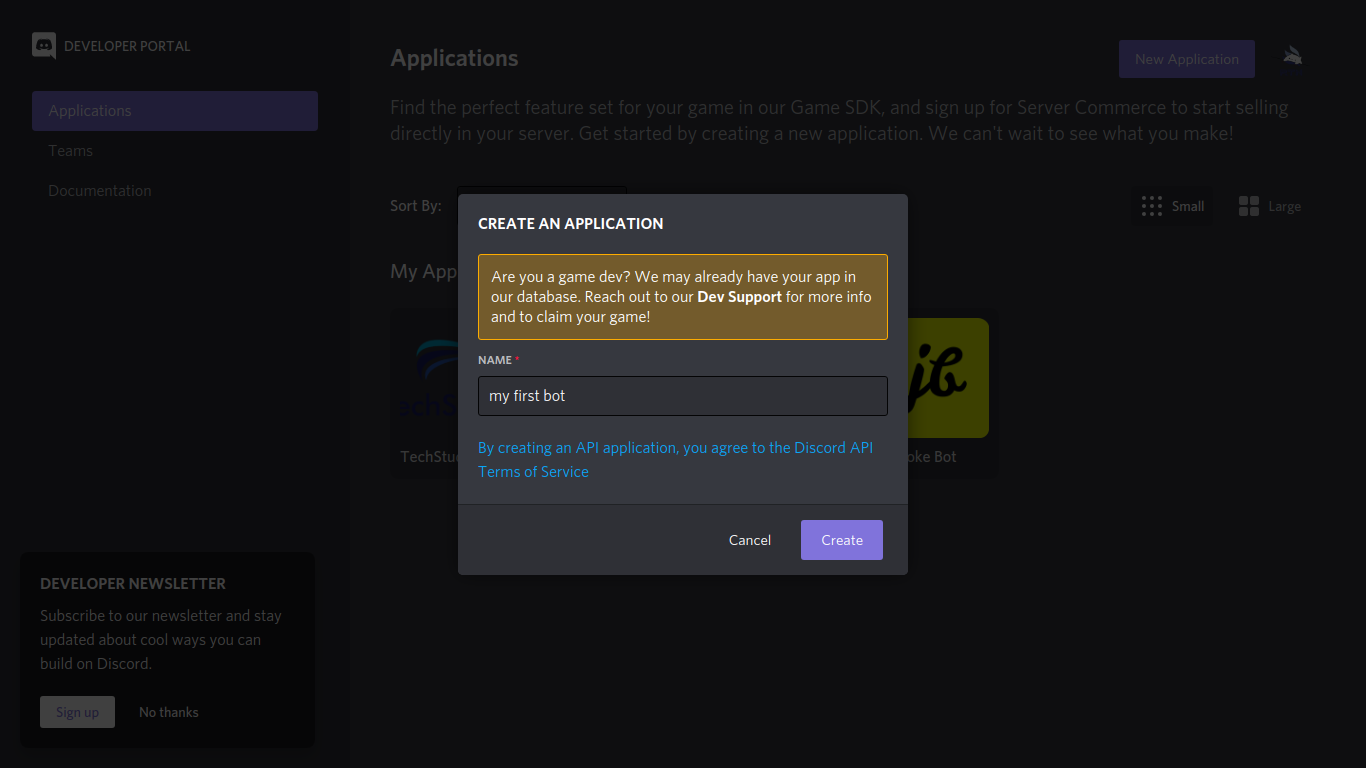
One time you lot're in that location, click on "New Awarding" on the elevation correct. Requite your bot a proper noun.
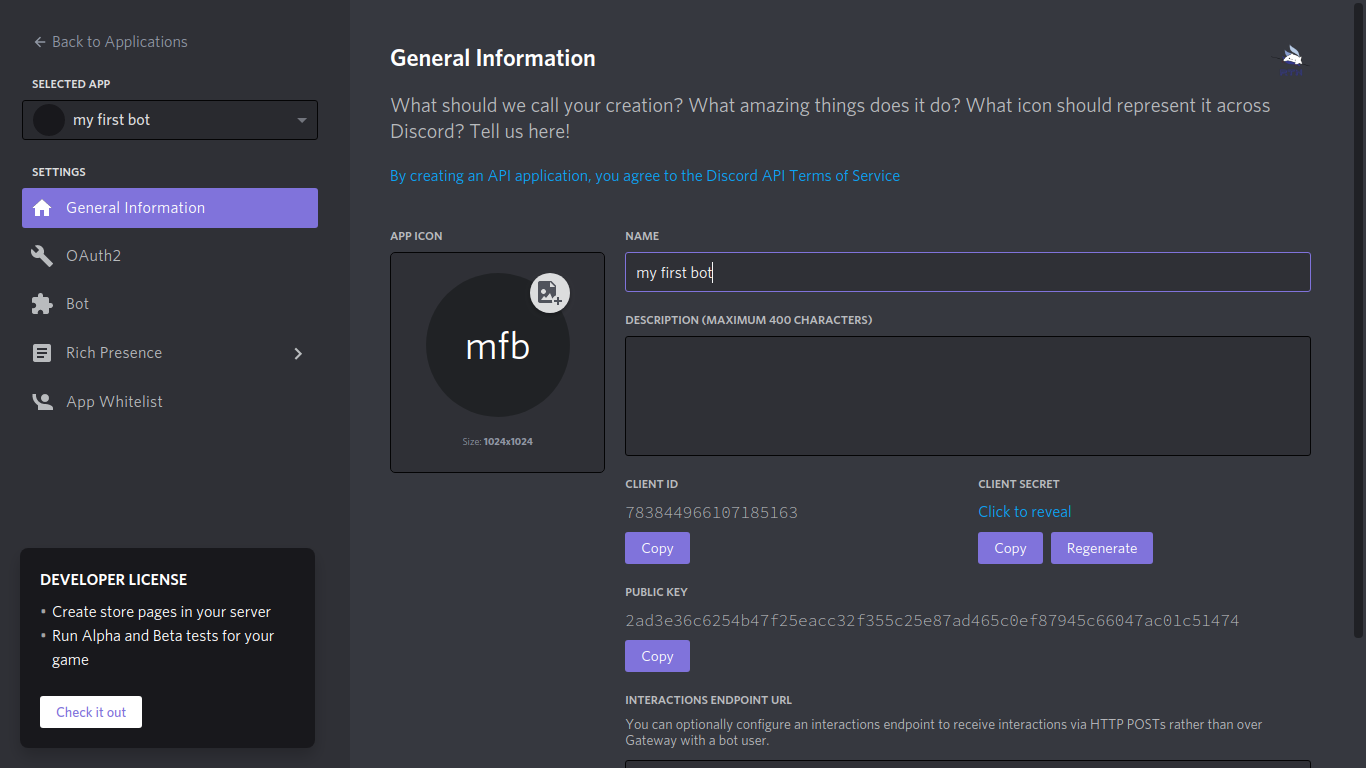
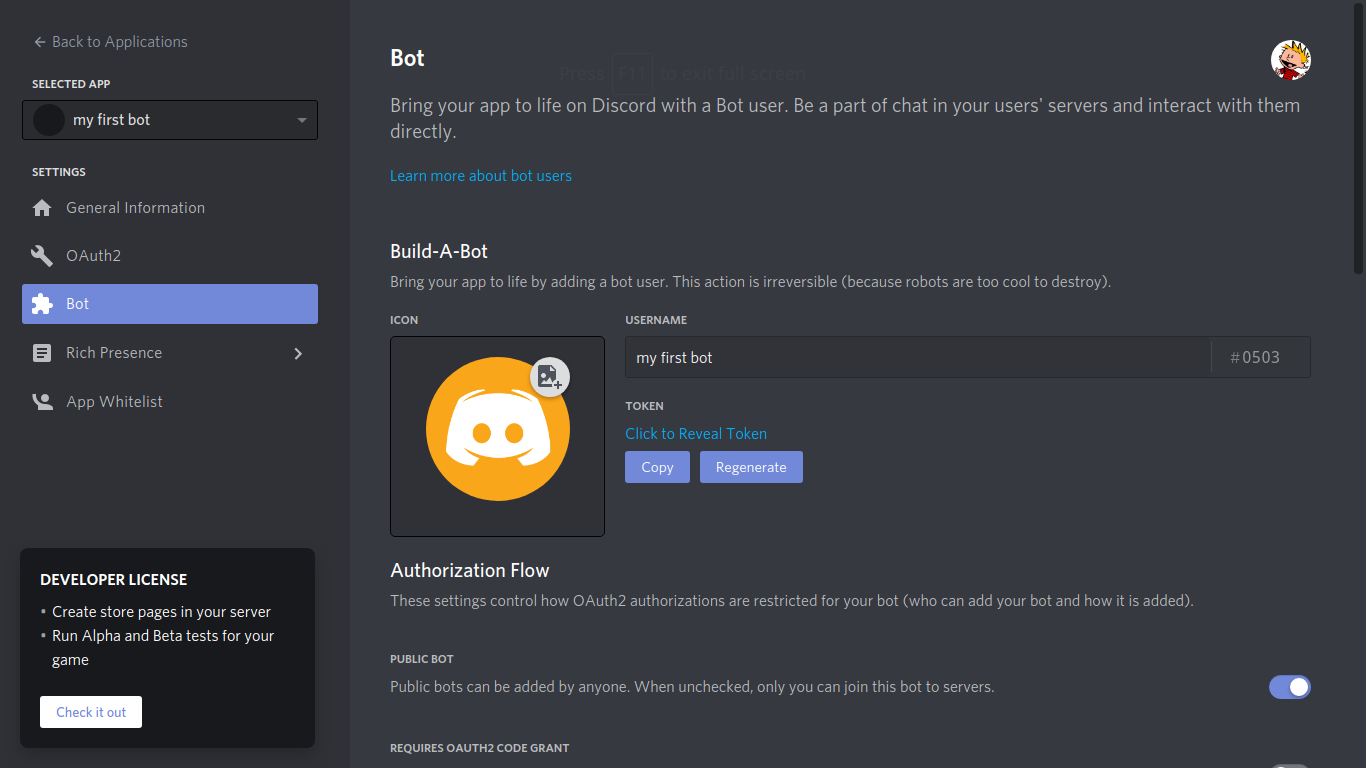
On this folio, you can modify your bot's name, description, and logo. The logo will essentially be the profile picture of your bot. I ordinarily use this website to generate logos for my projects apace.
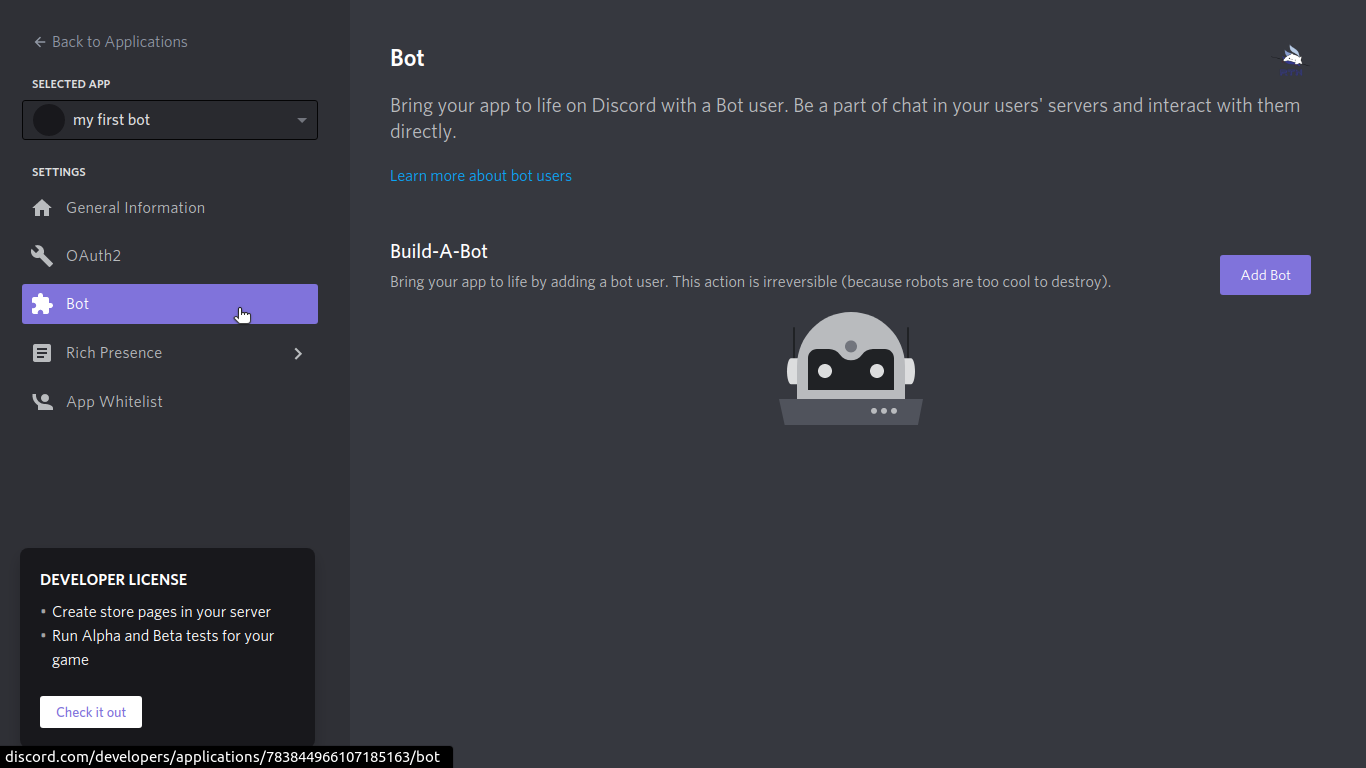
Now that we've created a project on Discord, we want to assign a bot to information technology. To practise that, go to the "Bot" tab.
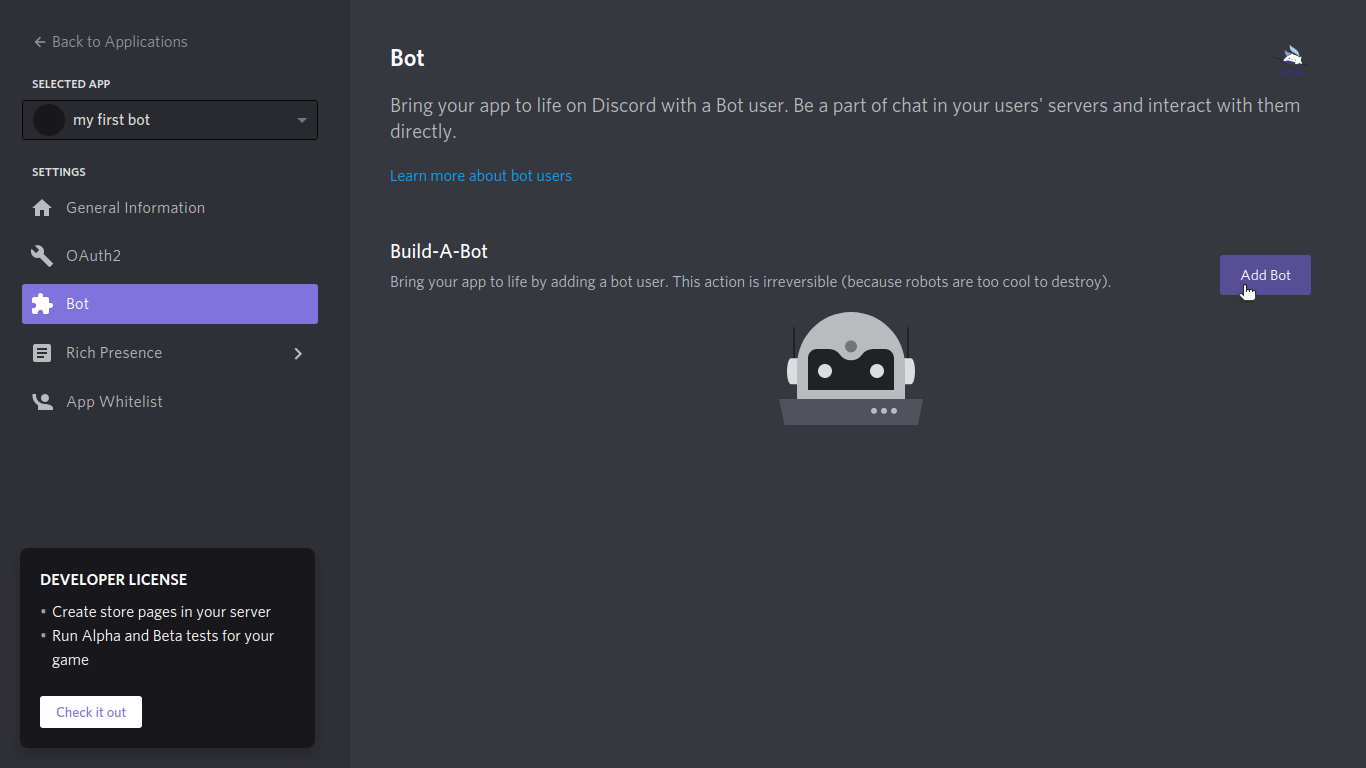
Select "Add Bot."
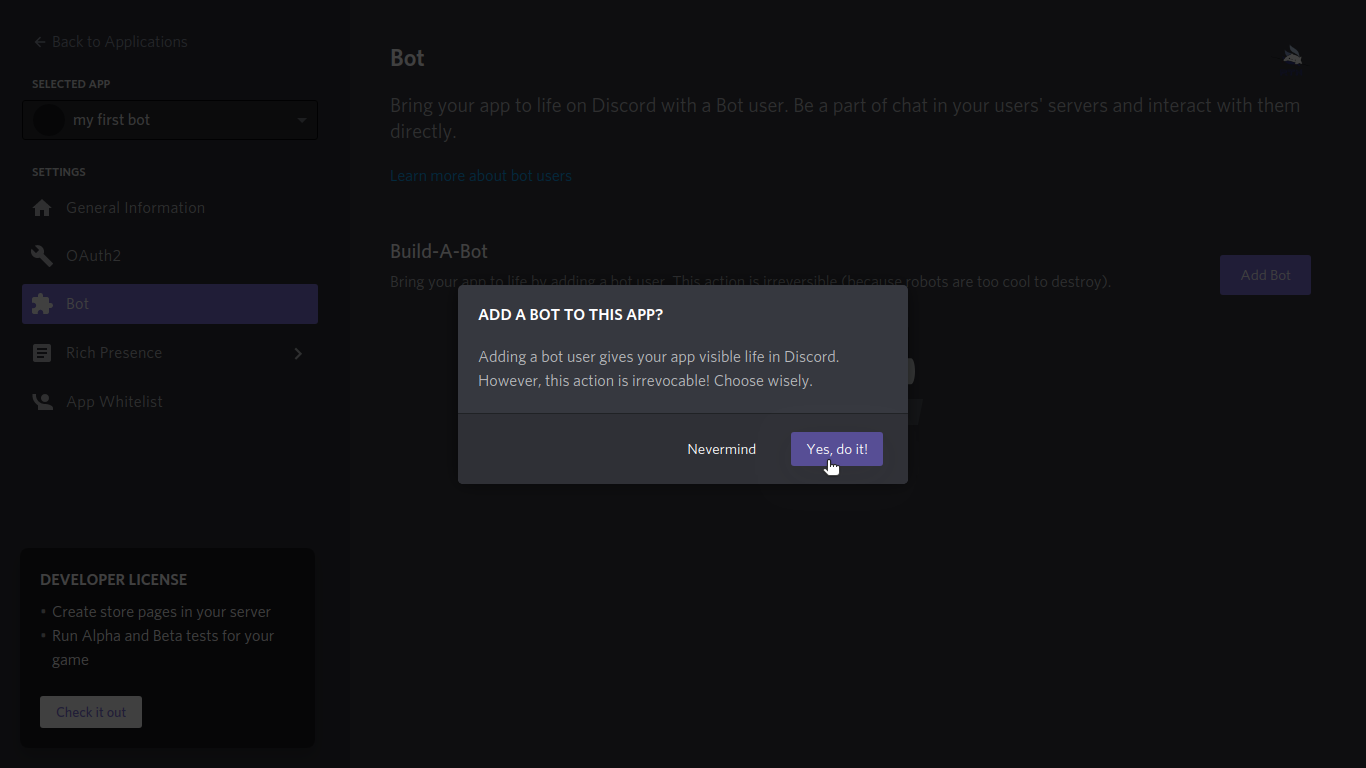
Select "Yes, do it!" to ostend.

Awesome! We have successfully set up the bot. Now, nosotros'll acquire how to download dependencies and code the bot.
Stride 2: Install Required Dependencies
Showtime, open your terminal.
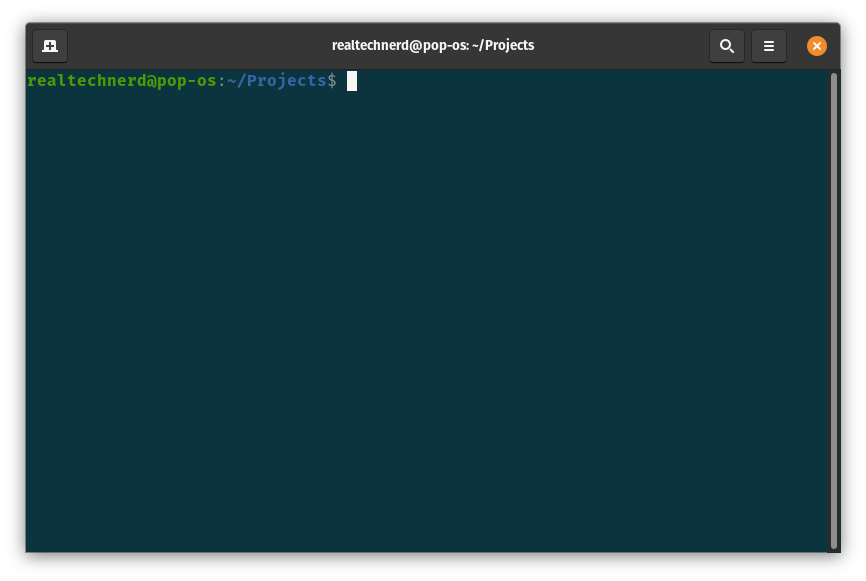
Create a binder specifically for your bot. I'yard going to call my bot "My Commencement Bot."
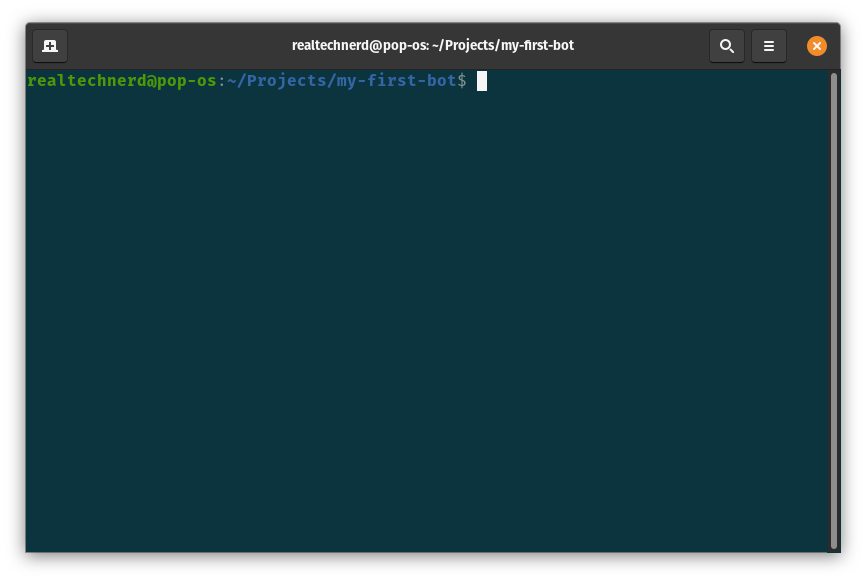
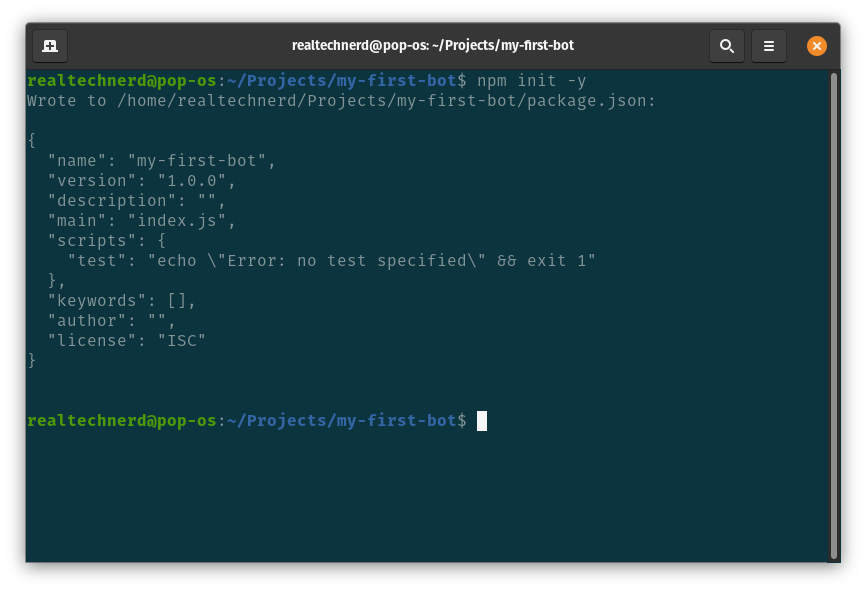
Now, nosotros're going to create a package.json file. This file allows the states to add custom scripts to development and is going to keep a record of your app'south version and dependencies installed. To do that, run npm init -y.
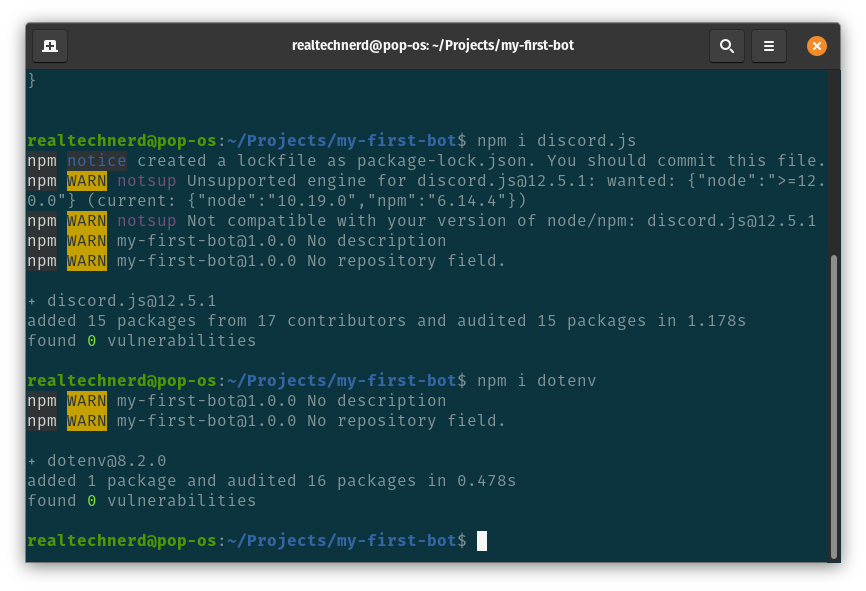
Now, let's install our dependencies. Dependencies are packages that we can install that allow us to exercise more than with our code, often reducing the amount of lawmaking nosotros demand to write. For our bot, we're going to be installing 3 dependencies:
- Discord.js — The Discord library used to create our Discord bot.
- dotenv — This is going to let us to hide certain variables, such as our bot'due south client ID.
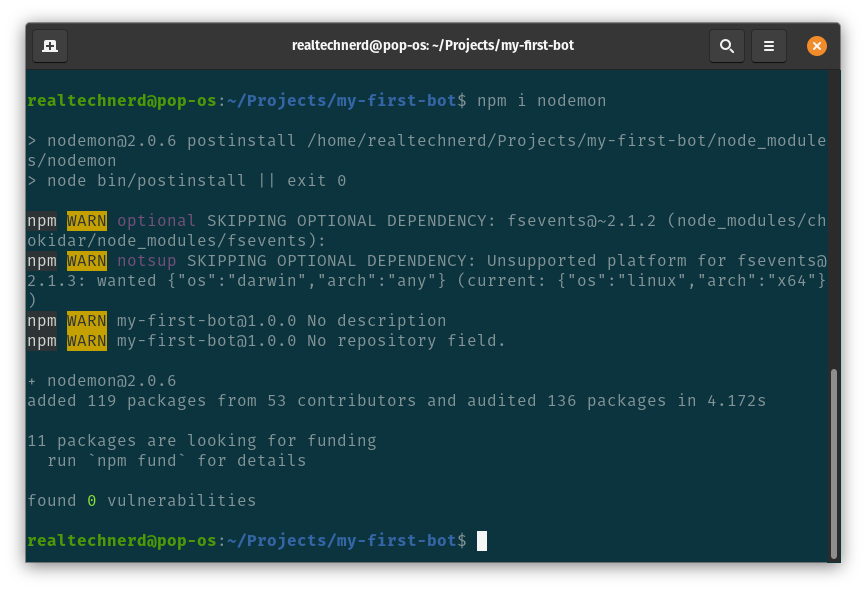
- Nodemon — This is going to allow u.s. to develop without having to restart the development server every time we make a alter to our code, every bit it volition automatically do it for us.
To install our dependencies, run npm i {package name} for each dependency similar and so (see beneath images).
At present that our packages are installed, let's kickoff coding the bot.
Step iii: Prepare Upward the Surroundings
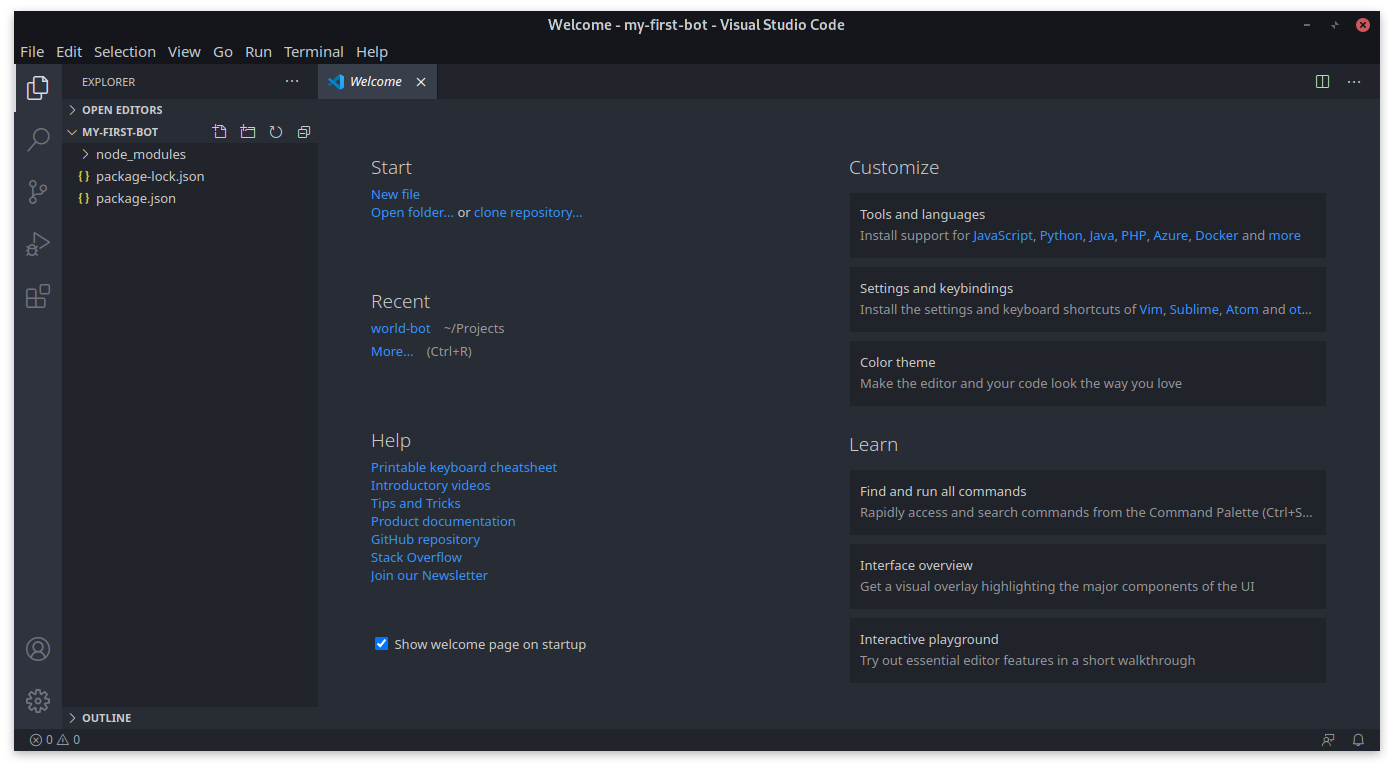
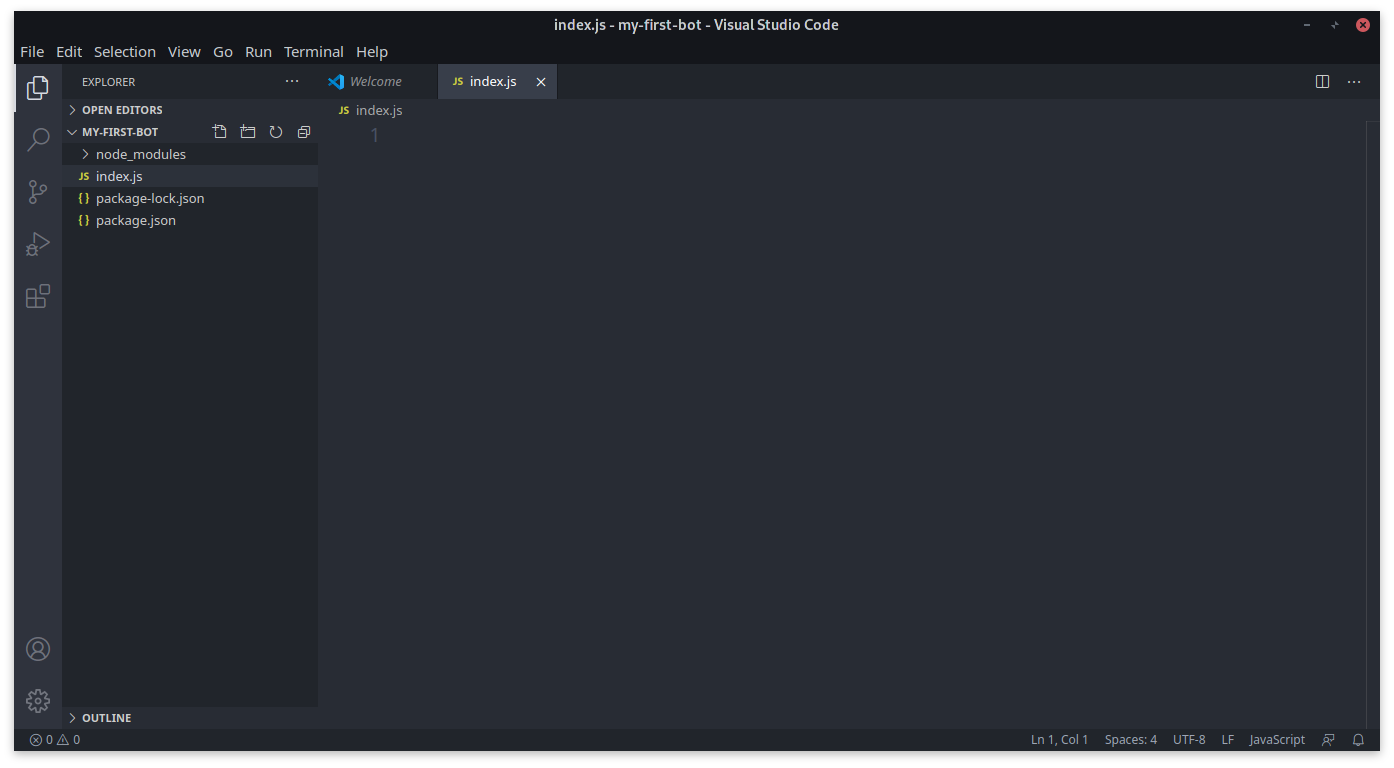
To start coding your bot, open your preferred lawmaking editor.
Now, create a file called index.js. Nosotros volition be writing our JavaScript code here.
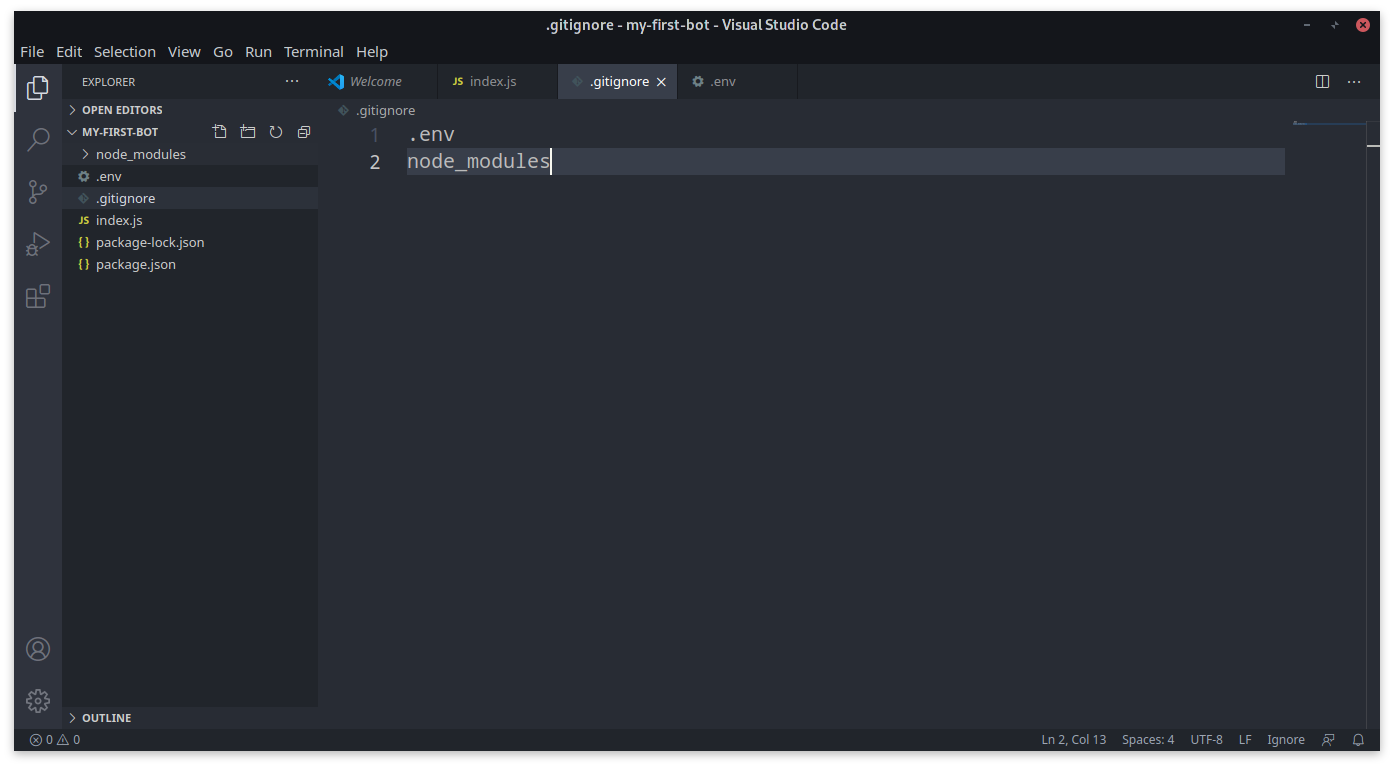
Likewise, create a .gitignore and a .env file. In our .gitignore, nosotros'll be hiding our .envand node_modules from our GitHub repository.

In your .gitignore file, type in .envand node_modules to hide those files. Brand sure you put them on split up lines.
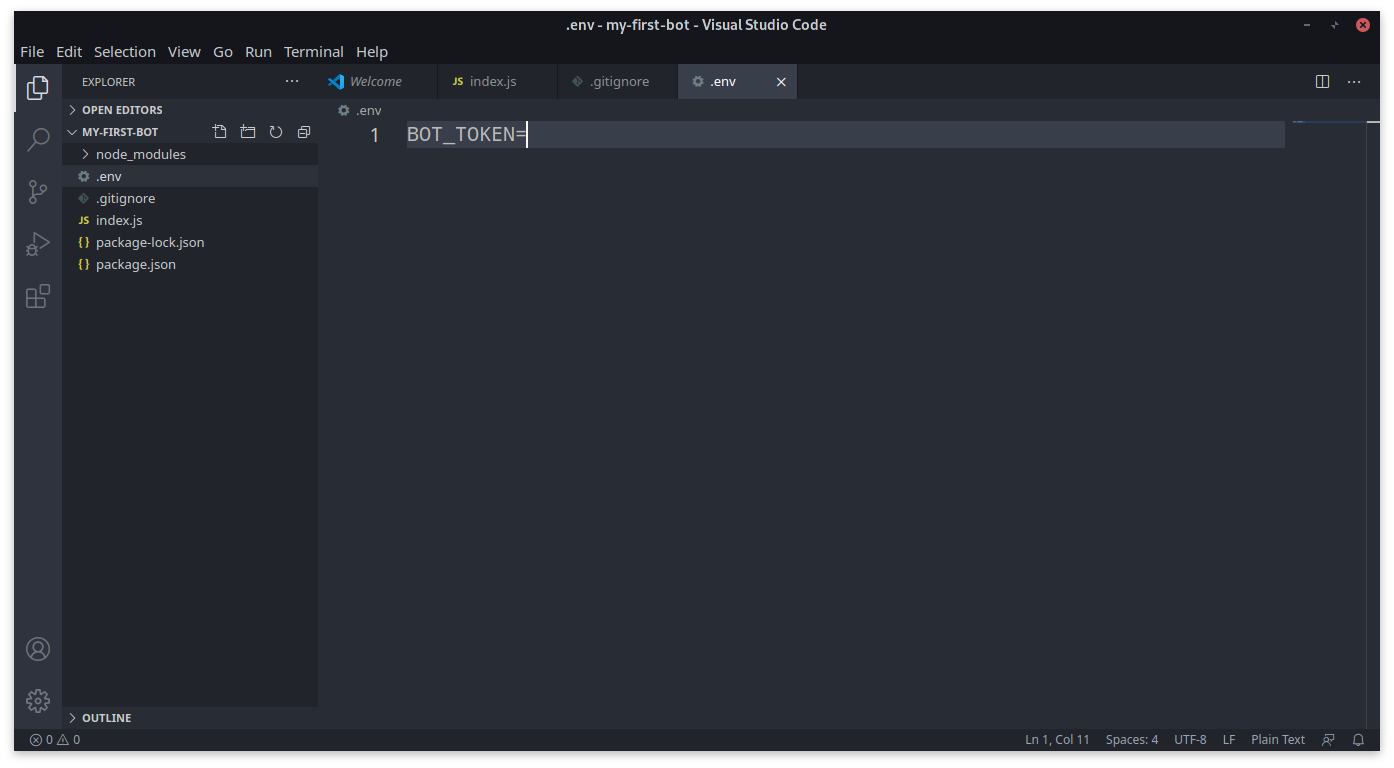
In your .env file, create an environment variable called BOT_TOKEN. Our client token will be stored here, allowing us to connect to Discord.
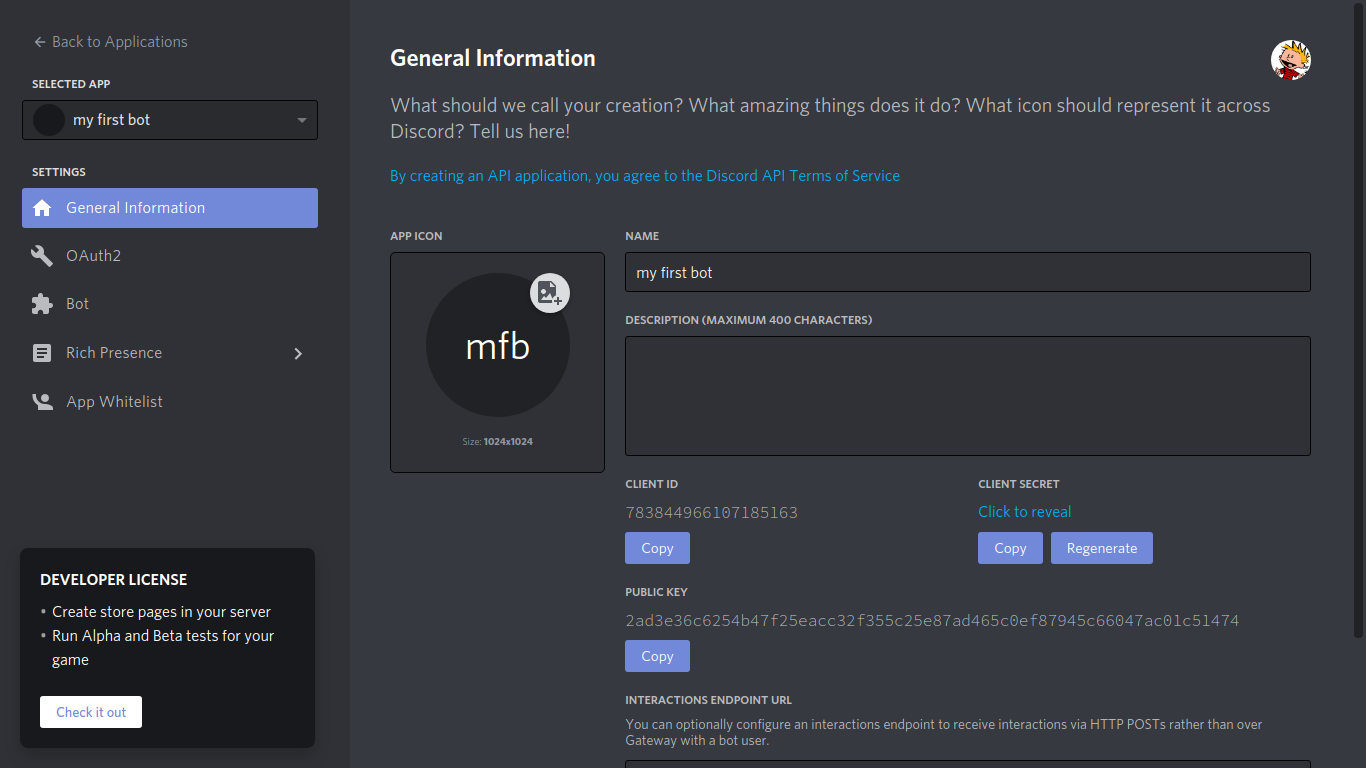
To get your client token, go to your Discord Programmer Portal and get to your projection.
Go to the Bot tab.
In the token section, press the "Re-create" button to copy the ID to your clipboard. Then, simply paste the token with your BOT_TOKEN variable.
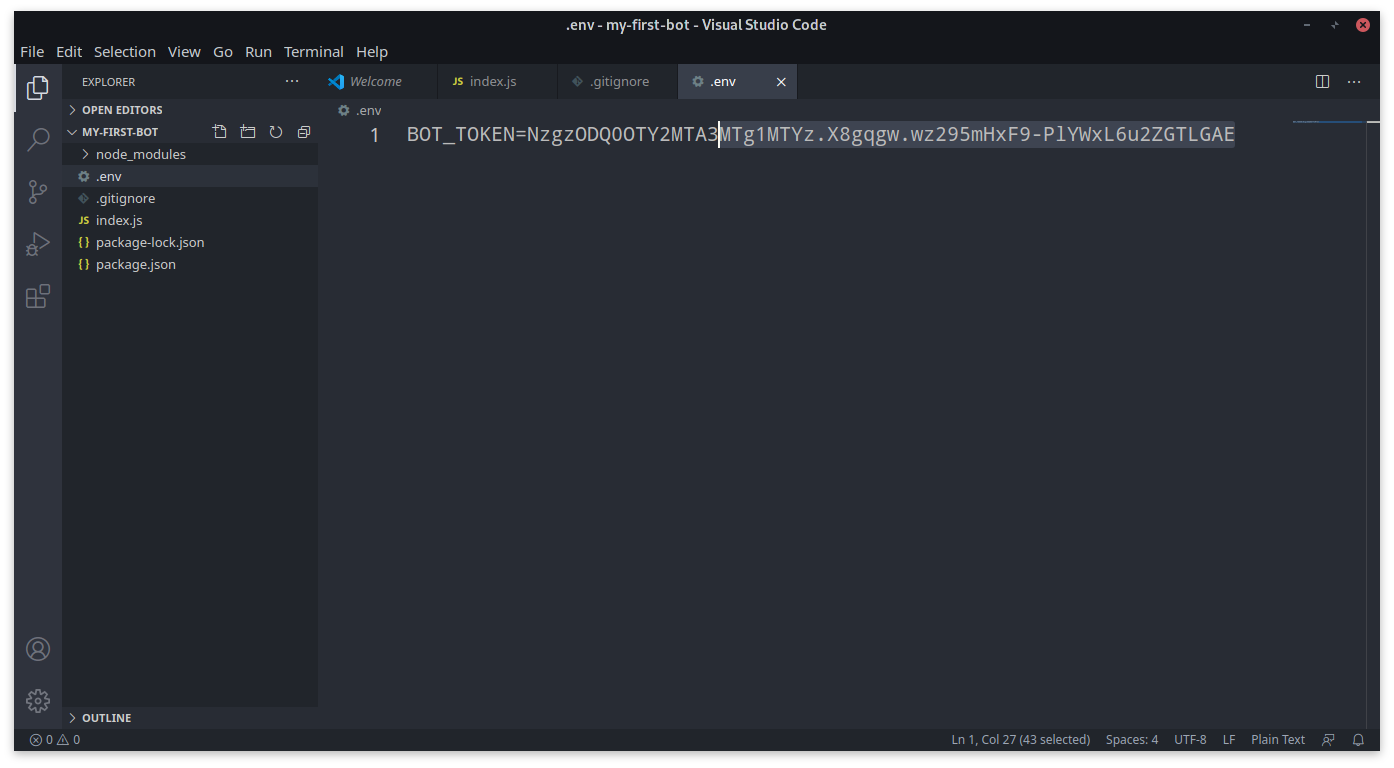
Also, don't show your ID to people you don't trust, considering if they obtain it, they can misuse it. I'm going to delete my project later, then my client ID will be invalid.
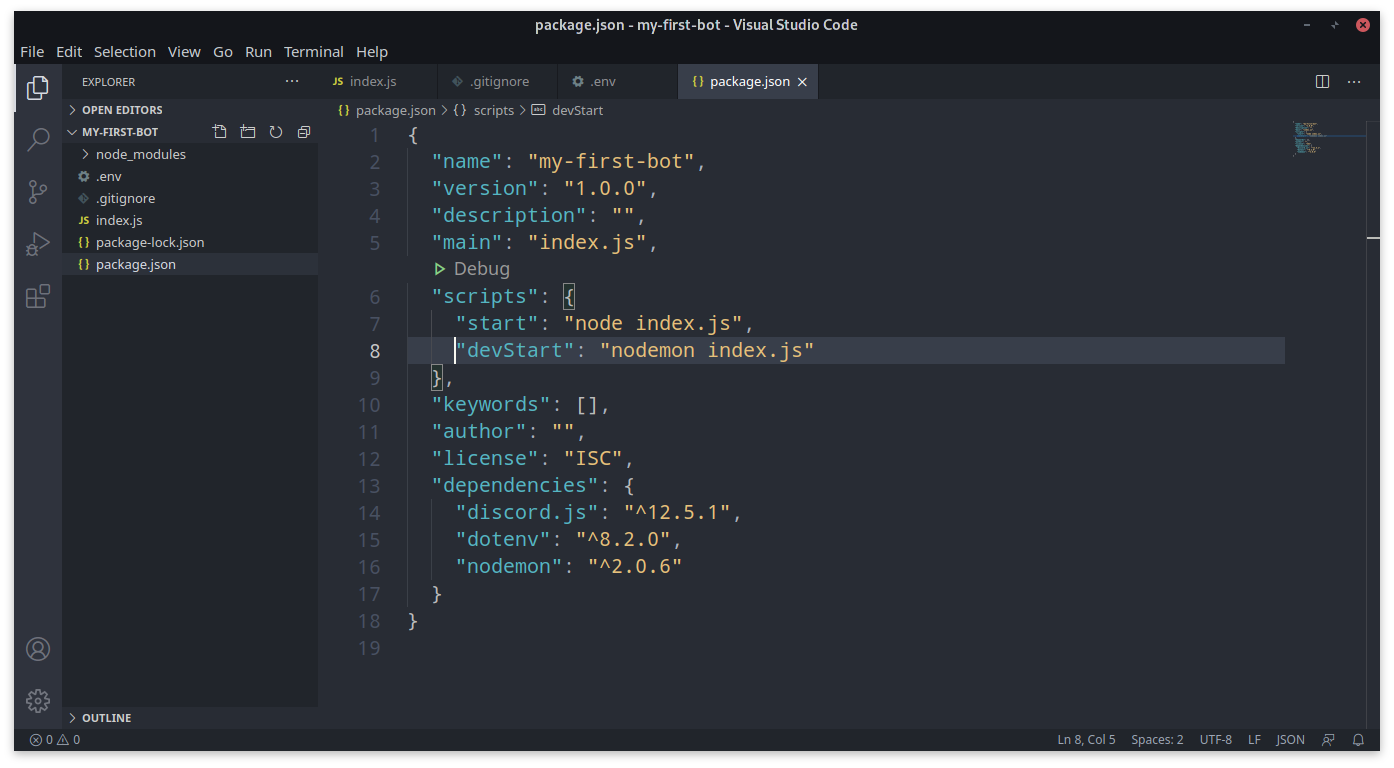
Lastly, let's configure the package.json file for development. Open up package.json.
Copy and paste the code below into the "scripts" section. While you're at information technology, remove the "test" script considering we won't need it.
"start": "node index.js",
"devStart": "nodemon alphabetize.js"
After doing this, your "scripts" section should look like the one shown in the below paradigm.
Now that we've ready up everything, let's get into evolution.
Step 4: Coding the Bot
Open your index.js file.
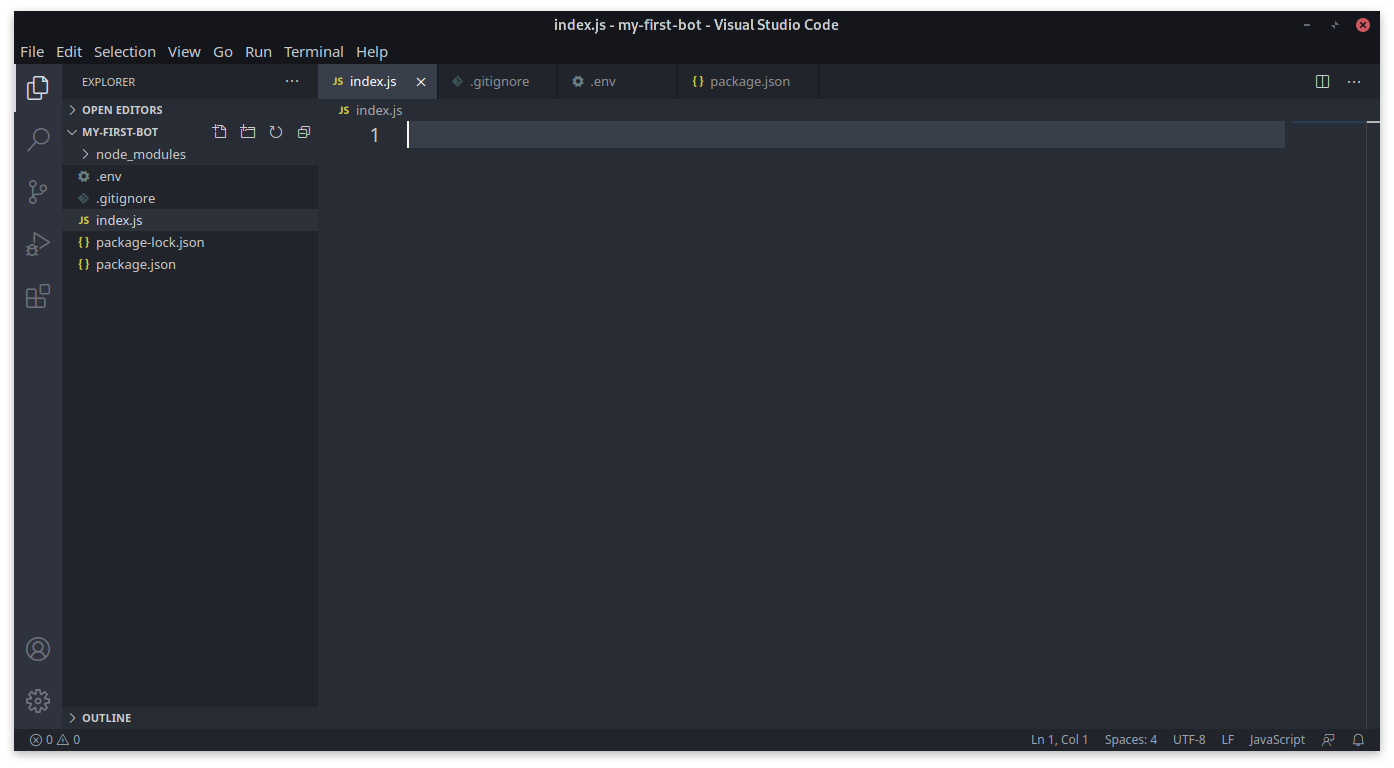
Let's start past importing our packages into our index.js file. This will allow us to utilise them in our project. Add the below code to your index.js file to import the needed dependencies using require.
          crave('dotenv').config()          const Discord = crave('discord.js')
const customer = new Discord.Client();
The outset line imports dotenv, the bundle nosotros're going to utilise for handling .env files. We're too importing the discord.js library and creating a reference to our bot using the client variable.
Now, let'southward add our bot to a Discord server. I suggest you create a defended server for bot testing. Once, you've created a server, become dorsum to your Programmer Portal.
Go to the OAuth2 tab.
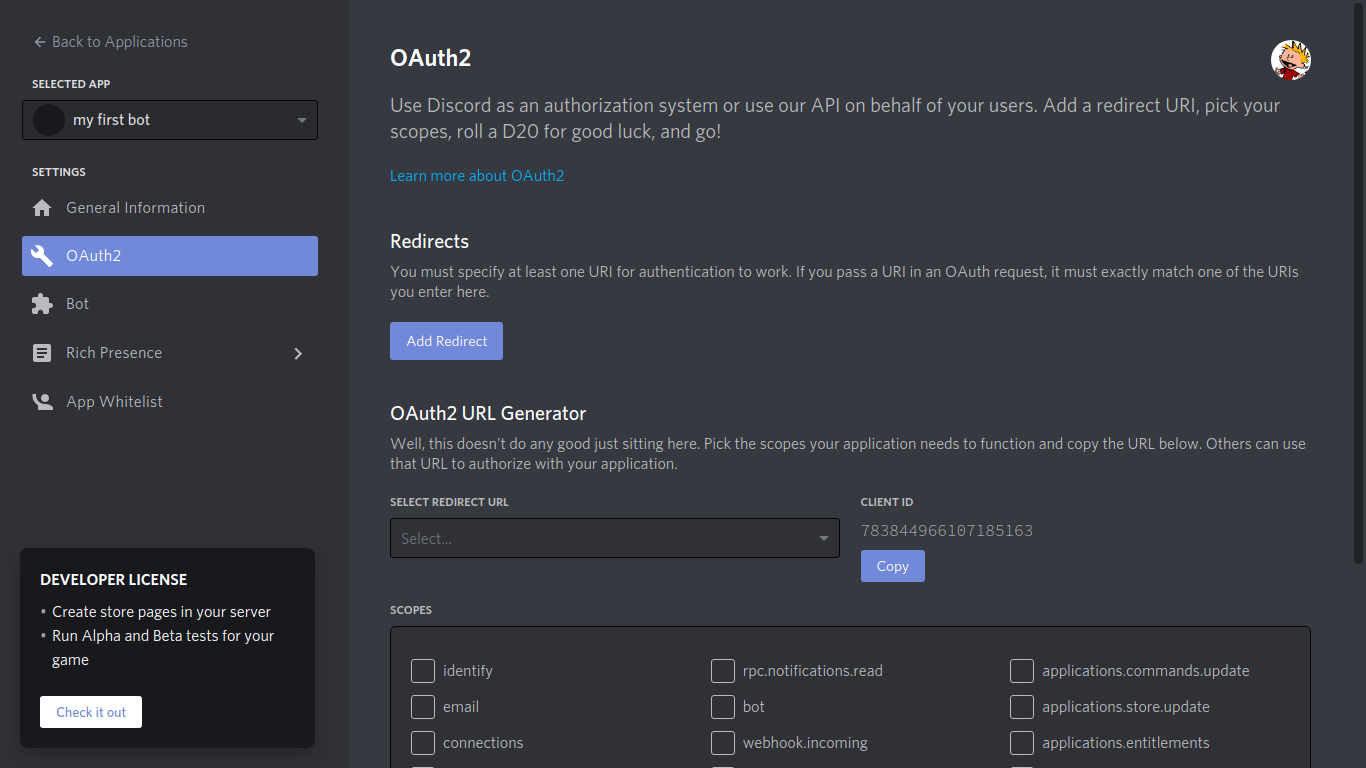
Roll downwards to the "Scopes" section and select "bot", because that's what we're creating.
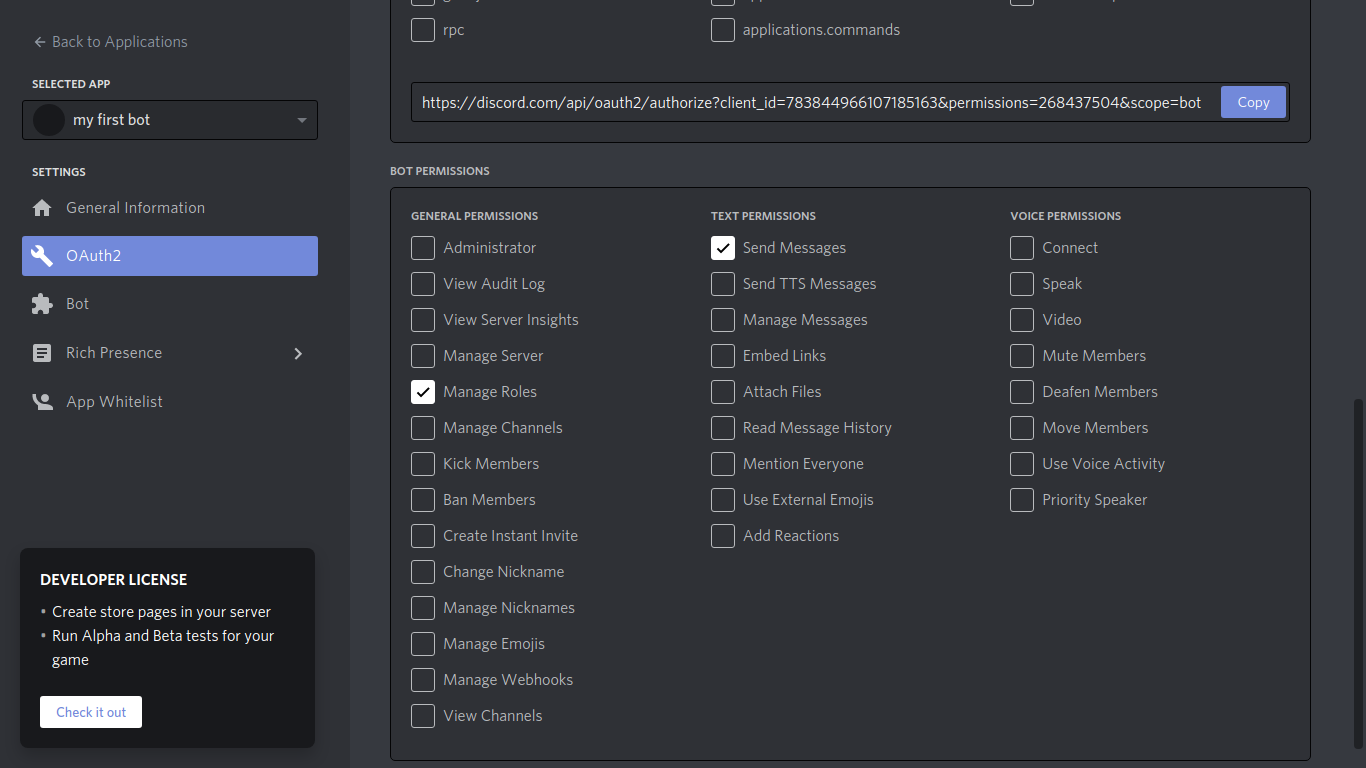
In the "Bot Permissions" section, select "Manage Roles" and "Transport Messages". When the user is adding the bot, these are the permissions it will enquire the user when they're adding the bot to their server. Yous can share this link with anyone, and it will allow them to add the bot to their server.
Copy the link at the bottom of the "Scopes" section and go to that link to add your bot to a server. Y'all can share this link with anyone, and it will allow them to add the bot to their server equally well.
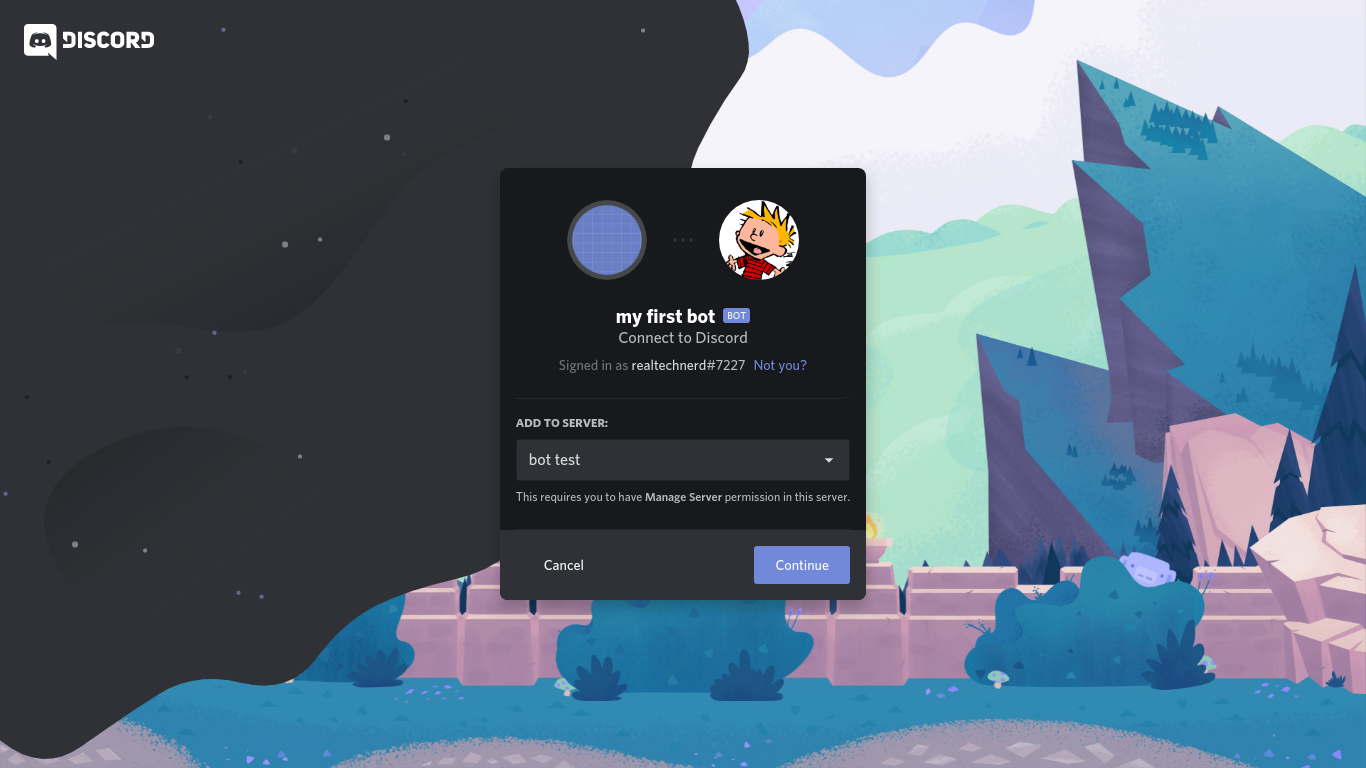
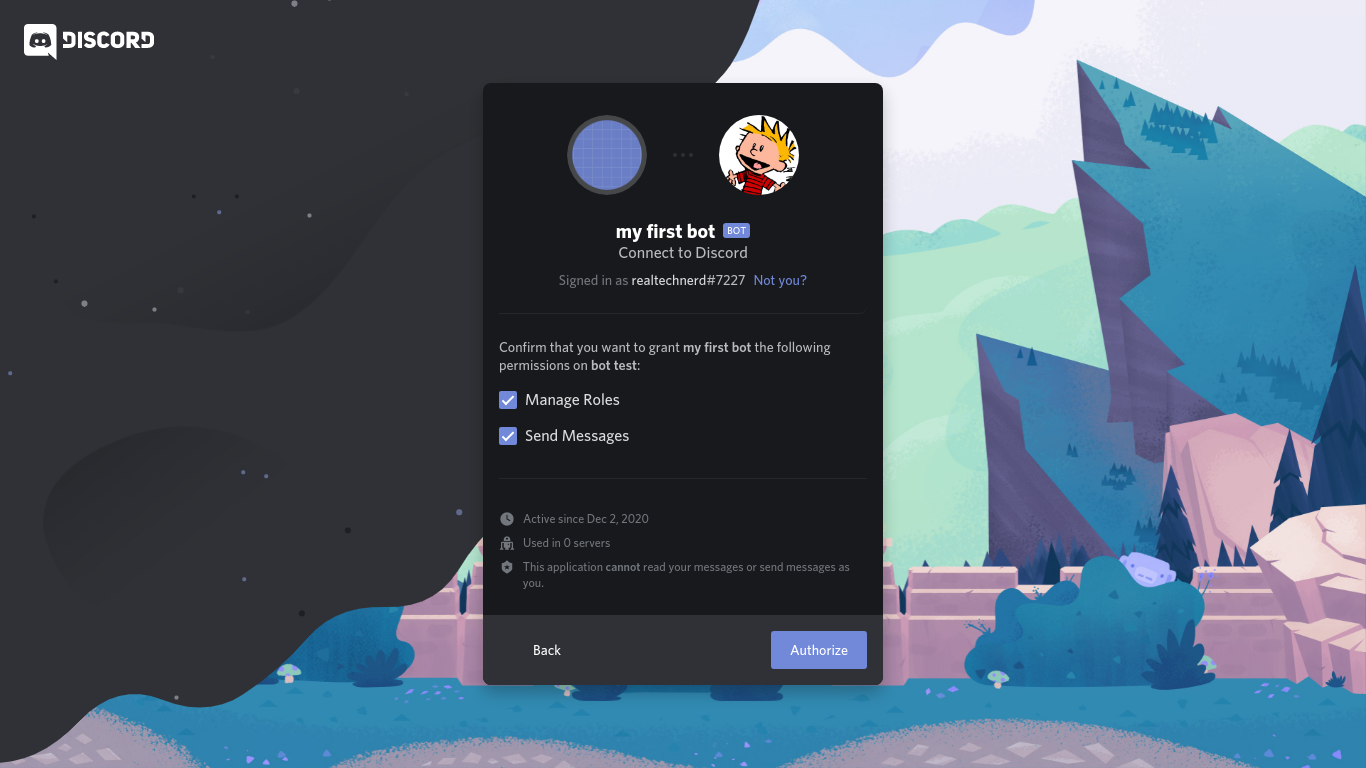
If you lot did the steps correctly, the bot should take been added to the server.
Permit'due south connect the client ID to our bot with the code beneath.
client.login(process.env.BOT_TOKEN) The customer is referring to our bot and the login is connecting information technology to our token, sort of like a countersign. The process.env is the file path to our .env file.

Let'due south start up our bot. To do that, open the terminal, go to your projection folder directory, and run npm run devStart.
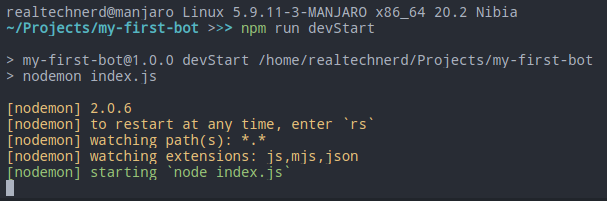
Yous should see this message. If you don't, cheque your package.json for whatever syntax errors.
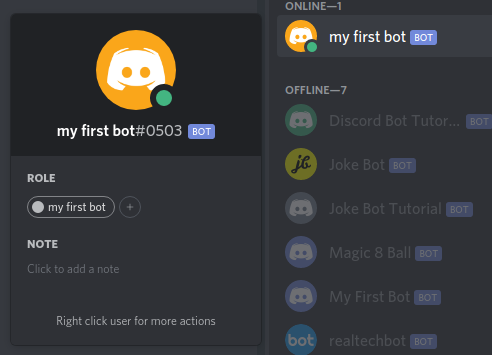
As yous can meet, our bot is at present online.
Now, let's make our bot log a message in the console so nosotros know information technology's running successfully. Let's create a function that runs when the bot is fix.
client.on("gear up", () => { // Code goes here })
Once again, the client refers to the bot. The .on() volition trigger the part on an event, in our case "ready". Within the part, let's practice a console.log() that logs "Bot is prepare" to the concluding.
customer.on("ready", () => { console.log("Bot is ready") })
This will display a message in the console. Save the file and check the last.
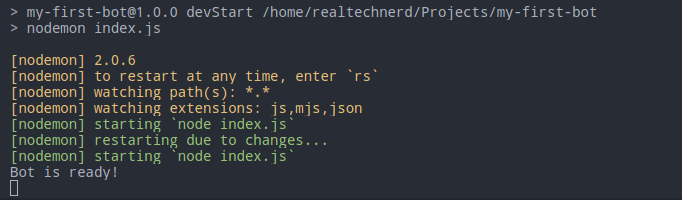
Awesome, our bot has started up successfully! Allow'southward create some commands.
We're going to create another client.on() function with an result of "bulletin". This volition listen for any letters. In the role, add the parameter of msg.
client.on("bulletin", msg => { // Lawmaking goes here })
Okay, and so let's create a command.
customer.on("message", msg => { if (msg.content === "hey") { msg.respond("hi there") } })
Equally yous can see, we've fabricated an if argument. The msg.content looks for a message matching its value, in our case "hey". The msg.respond will reply to the user, past mentioning their username. Let's test out the control on Discord.
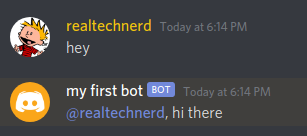
As you tin see, our bot is working! It replied to our message by mentioning our username. We can also create a control that answers the message without pinging the user. Let's create a new control called "u good bro".
client.on("message", msg => { if (msg.content === "hey") { msg.reply("hi there") } else if (msg.content === "u good bro") { // code here } })
Instead of using .answer(), we're going to send the message in the text aqueduct of which the user typed their command. To practice that, we'll utilize msg.channel.send().
if (msg.content === "hey") { msg.reply("hi there") } else if (msg.content === "u good bro") { msg.aqueduct.send("nah") } })
The msg ways a message, thechannel specifies the channel in which the user typed in the control, and the send() is the role that sends the message.
Awesome! At this point, we've created a simple Discord bot with unproblematic commands. Now, let's learn how we can let our bot exercise some more complex tasks.
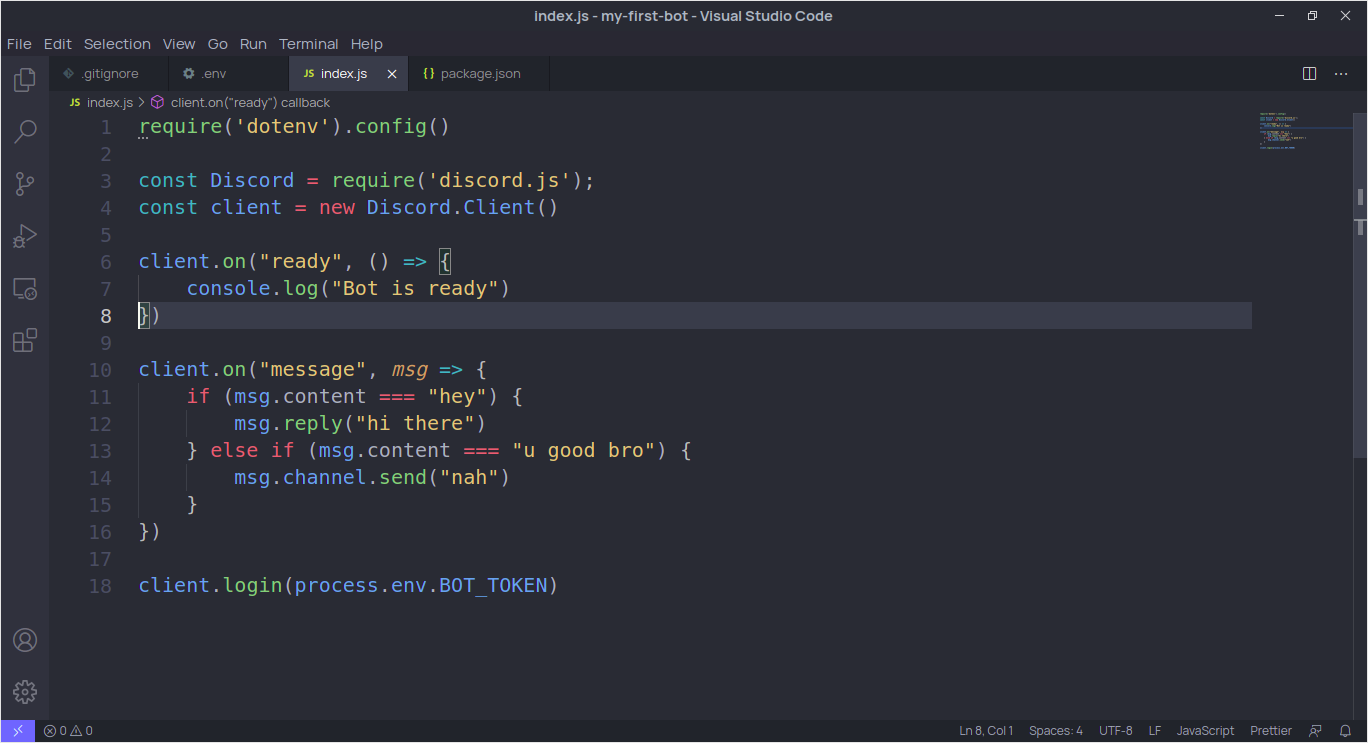
If you have done everything correctly, your lawmaking should look like this:
This is good, only let'due south create some more than complex commands. If you lot're making a moderation bot, the commands nosotros make will be quite useful.
Permit'due south say someone on your server keeps deleting their messages. You can create a command on your bot that will alarm that user to stop deleting their messages. Let'southward create a .on() function that listens for any messages being deleted. It'southward going to listen for "messageDelete" and will accept the parameter of msg so we tin send messages in the channel.
client.on("messageDelete", msg => { // Code goes here })
Alright, now that we set up our part, we can get in ship a message when the user deletes a message. For this, I am going to exist using .answer() because I want the bot to specifically ping the user that'south deleting the messages.
msg.respond("stop deleting messages!!"); Once you add that, your code should wait like this:
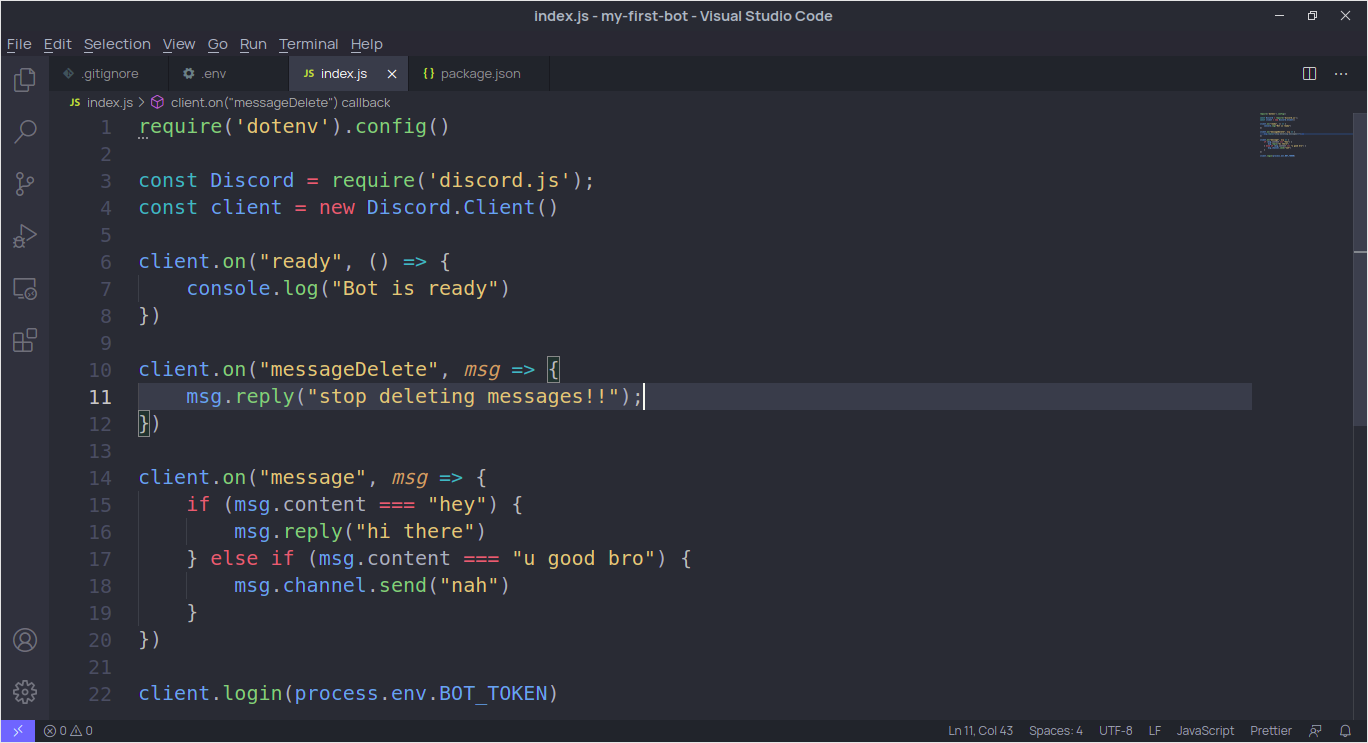
Let's continue Discord and test out our function.

Every bit you lot tin can see, information technology works! There is one trouble though. The bot will send the alarm message only for messages that have been sent after the bot'due south initialization. This means that the bot can simply read the messages after it. Nosotros want our bot to ship a message for any bulletin being deleted. To do that, nosotros need to grant access to all the messages for our bot. In your client variable, add a property chosen partials.
          const client = new Discord.Client({
            partials:
});
Inside partials, add ['MESSAGE'] then that the bot will know to read all messages. Your code should wait like this:
          const client = new Discord.Client({
            partials: ['MESSAGE']
});
Great! We've successfully allowed our bot to read all messages.
You can besides make your bot react to a message. Let's create a command called rtn is ballsy. We desire this command to react to our message with a ❤️.
client.on("message", msg => { if (msg.content === "hey") { msg.reply("hullo at that place") } else if (msg.content === "u good bro") { msg.channel.send("nah") } else if (msg.content === "rtn is ballsy") { // Code goes here } })
Reacting to a message is super simple, just use the .react() office.
customer.on("message", msg => { if (msg.content === "hey") { msg.reply("hi there") } else if (msg.content === "u good bro") { msg.aqueduct.ship("nah") } else if (msg.content === "rtn is epic") { msg.react("❤️") } })
Let's test out our function in Discord.
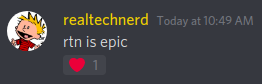
Crawly! It works!
Let's create one last command. This command will grant a role.
Offset, create a new command called gimme modern. This volition grant the user the moderator role.
Let's first create a moderator function. To do that, go to your Discord server and go to the settings menu.
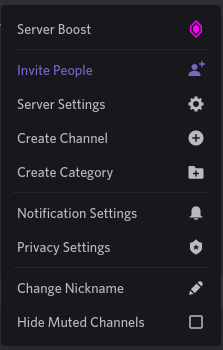
Select "Server Settings".
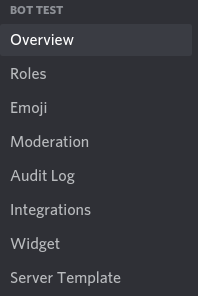
Select "Roles".

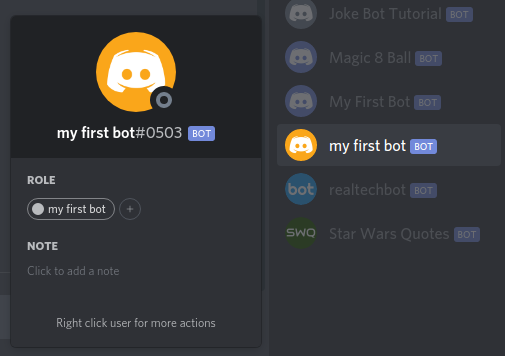
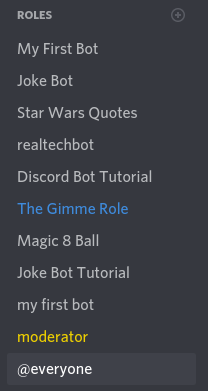
You can click on the + to create a role, simply as you can see, I have already created a moderator role. Likewise, every time you lot add a bot to your server, it gets assigned a function. The function will handle all the permissions. Equally y'all can see, our bot "my starting time bot" has its own function. Make sure the role you want to grant is below the role of your bot, like so:
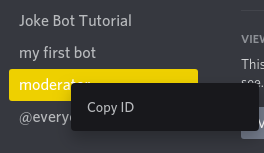
On Discord, each part has a unique ID. It makes the roles unique. To grant a role with our Discord bot, we need the ID of our part. To get the ID of the role, right-click on the part and select "Copy ID".
Now, permit's create a new control.
client.on("message", msg => { if (msg.content === "hey") { msg.reply("hi in that location") } else if (msg.content === "u good bro") { msg.channel.send("nah") } else if (msg.content === "rtn is epic") { msg.react("❤️") } else if (msg.content === "gimme modernistic") { // code goes here } })
To grant roles, we demand to use fellow member.roles.add(). This will grant the function to whoever typed in the control.
msg.reply("hi there") } else if (msg.content === "u good bro") { msg.channel.send("nah") } else if (msg.content === "rtn is epic") { msg.react("❤️") } else if (msg.content === "gimme mod") { msg.fellow member.roles.add("783390808028086272"); } })
Every bit you tin run into, I have also included the ID of my role hither. Let's test out our control on Discord.

Crawly! It worked! For some reason, if it didn't piece of work, make sure the ID is right.
Neat job! We accept successfully learned the basics of a Discord bot. In that location's ane last thing to do, which is to host our bot. Right at present, we're using our estimator to host the bot, just nosotros need our bot running 24/7. We can't utilize our main reckoner to have it run 24/7, and so we're going to employ a hosting service called Heroku. Information technology's completely costless.
Footstep 5: Hosting the Bot
In your bot's folder, create a file called Procfile (with no file extension). This is a file that will talk to Heroku. In your Procfile, add the following lines:
worker: node index.js One time yous take completed that, push button your code to a Git repository. I'grand using GitHub (if you lot don't know how to practise this, follow this tutorial).
Now, go to Heroku.com and sign in to your account.
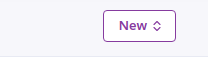
Select "New" > "Create new app".
Give your app a name.
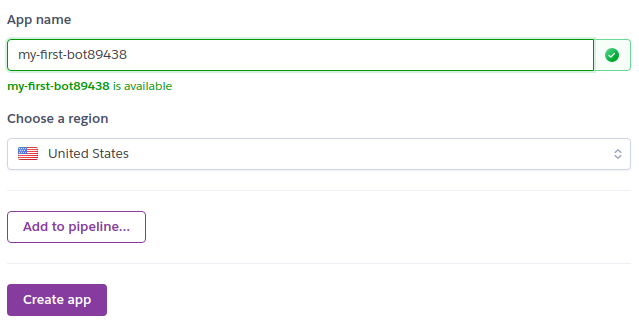
Click the "Create app" push button.

Select GitHub.

Search for the GitHub repository containing your bot.
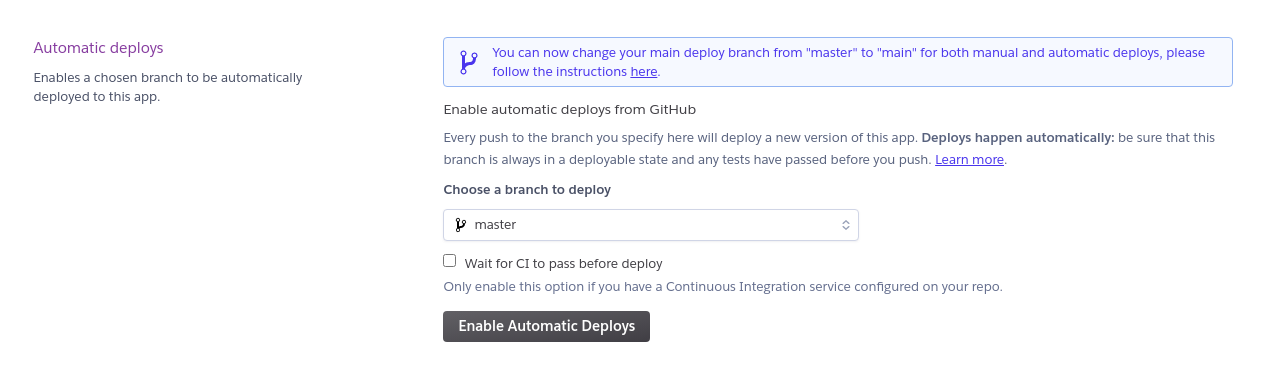
Select "Enable Automatic Deploys".
This will restart the bot every time a change has been made.

Scroll back up and select "Settings" in the app menu (pictured above).

In the "Config Vars" section, we demand to add our bot token. Create a new primal-value pair by filling the "KEY" input with "BOT_TOKEN" and the "VALUE" input with the token from your .env file.

Awesome! Now, become back to the app menu and navigate to the Deploy page.

Select "Deploy Co-operative".

Go to the Resource page.

Uncheck npm offset and bank check node index.js. This volition tell Heroku to run our bot 24/seven.
You only learned how to set, create, and deploy a Discord bot. In my stance, creating these bots are very simple. I was surprised by how piece of cake information technology was to create a Discord bot. These are only basic commands, though. If you lot'd like to larn more, I recommend using the Discord.js Guide and the official Discord.js website.
Source: https://medium.com/techtalkers/how-to-create-a-simple-bot-using-discord-js-51bcedb0ab8c
0 Response to "Hey Bro Whats Up Doing Our Main Server Again"
Post a Comment